
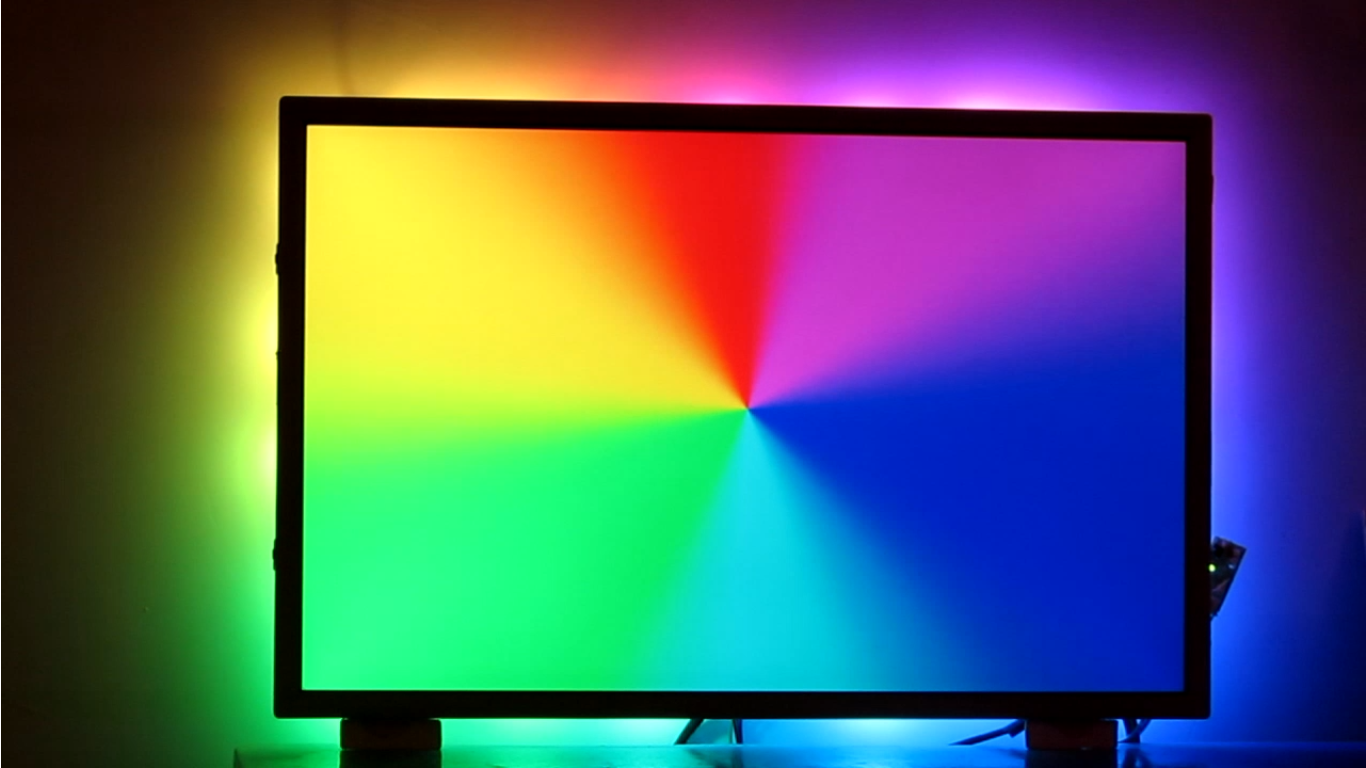
A few years ago Phillips included something called AmbiLight on some of there TVs. Basically RGB (multicolour) LEDs are set into the rear of the TV, which reflects whatever you are watching – it looks extremely cool, makes for a more immersive viewing experience and reduces strain on your eyes. You can acheive the same thing with the Raspberry Pi and a strip of WS2801 LEDs connected up to your TV thanks to “Hyperion” (https://github.com/tvdzwan/hyperion/wiki) software. You can also have standalone effects controlled from an app on your android device (https://github.com/tvdzwan/hyperion/wiki/Android-remote), e.g. you can choose a background light behind you TV when its off (or a swirling pattern), but you don’t need this app for the main function to work. Here’s what it looks like:
Parts list:
TV with HDMI input, and HDMI cable
Raspberry Pi & PSU (any model, but must be connected to your network for setup)
SD card with RASPBMC installed
5v 2A USB power supply, in addtion to the one you’re using for the Pi
AndyPi BerryGlow (or build your own WS2801 LED strip)
Hardware Setup:
1. Raspberry Pi connectors
One end of the LED strip must be connected to the Pi (info below for all revisions). Note if you are building your own you need to test this first, since the data lines can only be attached from one end of the strip. Power can be provided by either end. The AndyPi BerryGlow has a USB connector, so it can easily be powered by any USB PSU with enough power (suggested 2A+).
+5v (Leave disconnected and power from USB connector instead)
GND (e.g. pin 6) to GND
GPIO11 (pin 23) to CLOCK
GPIO10 (pin 19) to DATA


2. Fit the LEDs around the back of your screen. If you’re using an LED strip like in the video, you could make your own frame, or use sugru for a permanent fixing, but I started of with BluTak just to test. AndyPi’s Berry Glow kit comes in a strip with adhesive on the back:

See software part 4 and download the config utility – this gives you a picture of where to place the LEDs!
3. Finally plug the USB cable end into your USB PSU, and turn on your Pi.
(Note: the AndyPi BerryGlow doesn’t have any step down resistors. Some other AmbiLight copies have an extra box of electronics, which adds cost, but in our opinion is not needed. 5v 2A supply should be sufficient for a 100 led strip. If you make your own with more LEDs then it then you will need a more powerful PSU. In terms of the Hyperion software, it is apparently not a perfect implementation and not everything you can play will activate the LEDs – but all the videos and streams I have tested have worked fine.)
Software setup:
1. Install RASPBMC and set up your network so you can SSH into the Pi from another computer.
2. Log into your Pi via SSH, and enter the following commands (updates the Pi, installs some libraries, downloads Hyperion, and installs it using a script.
sudo apt-get update
sudo apt-get install libqtcore4 libqtgui4 libqt4-network libusb-1.0-0 libprotobuf7 ca-certificates
wget -N https://raw.github.com/tvdzwan/hyperion/master/bin/install_hyperion.sh
sudo sh ./install_hyperion.sh
3. At this stage you can test the installation by checking if data can be send to Hyperion. For example try setting all leds to red for 5 seconds by entering the following command:
hyperion-remote –priority 50 –color red –duration 5000
4. Now that you’ve got the basics working its time to tune you setup. Download the set up program to generate your hyperion configuration file. It’s Java based so will work on any OS, but you’ll need to have Java installed for it to work (many other programs need it, so it’s highly likely you will have.)
https://raw.github.com/tvdzwan/hypercon/master/deploy/HyperCon.jar
A) Hardware tab: The LED type: WS2801, Output: /dev/spidev0.0 . That’s the easy bit. Now you need to enter the construction depending on your actual setup, i.e. how many LEDs you have down the sides and along the bottom, whether you have any in the corners. You can set the offset to match which is the first LED in your string (i.e. nearest to the Pi – so you can set up the physical location whichever is most convenient.
B) Process tab: Make sure Frame Grabber and Smoothing are enabled.
C) External tab: Ensure the XBMC checker is enabled. You can set the options to your preference (i.e. which types of events trigger the LEDs. Enable the Json server – the TCP port is usually 19444, which you’ll need to access the remote control.
Click “Create Hyperion Configuration”. This will generate a file named hyperion.config.json in the folder where the setup program was run from.
5. The hyperion config file is located in /etc/ folder on the Pi. Create a backup copy of this, and then copy over the one you just created. (You can drag and drop it into your Pi folder using windows explorer, then you’ll need to copy to /etc. Finally restart hyperion, and test it with a video!
cd $home
sudo cp hyperion.config.json /etc/hyperion.config.json
initctl restart hyperion
6. Tweaking: See https://github.com/tvdzwan/hyperion/wiki/Configuration for more details. You can also download a calibration video if you want to check the correct positioning of the LEDs.