
Weather Monitoring – Part 1 – This post
Weather Monitoring – Part 2 – Air Quality sensing with Shinyei PPD42NS
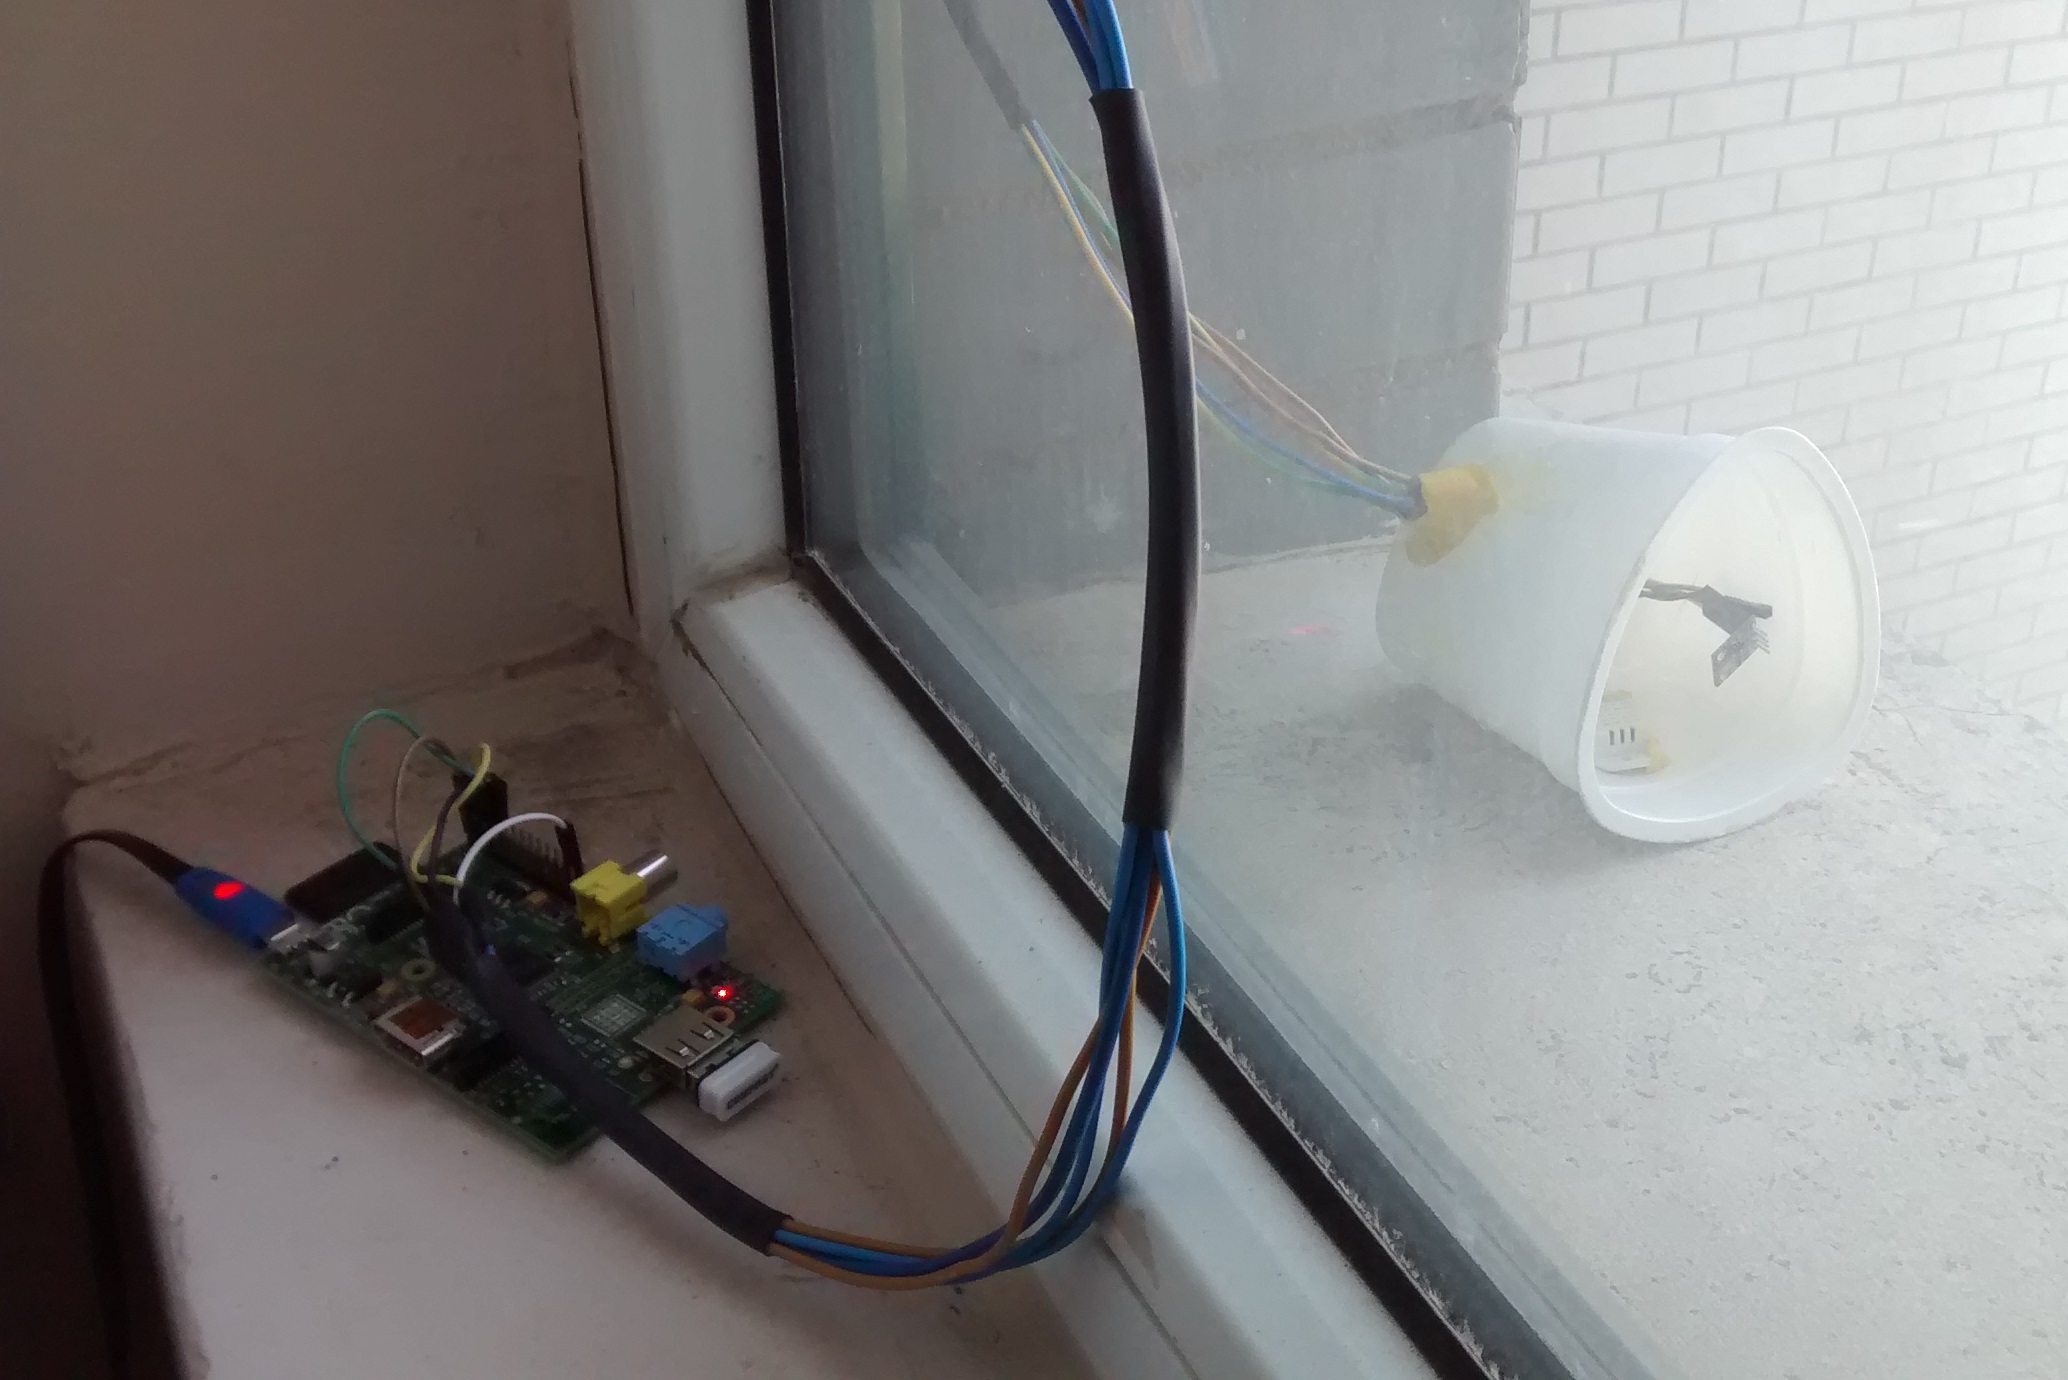
Where I live at the moment is very dry and after buying a humidifier I decided to use my Raspberry Pi to create a weather monitoring station to test the humidity inside and outside of the house, to see if the humidifier made a difference. This is Part 1 – sensors outside the house, which includes temperature and atmospheric pressure as well.
I’m running the Pi headless so I wanted a way of accessing the weather information without needing to SSH into the pi to run the code or read a log file. I’ve actually setup two methods. You can see full instructions for hardware setup and get the code from my github page, but below is a little explanation of a couple of different web applications and how I interact with their API after reading in the data from my sensors. This kind of the opposite way of interacting with an API in comparison to the London bus notification – we are uploading data to the web rather than retrieving it
Method 1 – ThingSpeak
ThingSpeak is and IoT (Internet of Things) platform. It allows to to upload data to its servers, and then makes it easy to view the data in graphical format either on their website or by embedding graphs on your own site. For this, I haven’t used an API wrapper, instead I created a function to directly post an HTTP request with the urllib module. It works roughly like this:
# setup the parameters, each of the 3 fields is a data value, e.g. the data1 variable has a temperature value inside it
params = urllib.urlencode({"field1": data1, "field2": data2, "field3": data3,'key':THINGSPEAK_APIWRITE})
# Set the HTTP headers
headers = {"Content-typZZe": "application/x-www-form-urlencoded","Accept": "text/plain"}
# Create the connection with the thingspeak api URL
conn = httplib.HTTPConnection("api.thingspeak.com:80")
# Post the connection (this "doing" everything we just setup)
conn.request("POST", "/update", params, headers)
# Close the connection
conn.close()
This gets run every 15 minutes and thingspeak stores the data. The reason I like the site is because it lets you easily make graphs without needing manually access the API again to download a certain portion of data. I just copied the embed code from my channel on the thingpseak website, and here it is in action:
Method 2 – Slack
Secondly, I’m using Slack, a business communication tool with a few friends, and I’ve created a “weather” channel that I can post the current weather to once per day. For this, I use the python API wrapper for slack, called slacker, with many different options. It makes it very easy to post a message:
# import the function from the module and my config.py file which includes my slack API key
from slacker import Slacker
from config import *
# create a slack object using your API key
slack = Slacker(SLACKAPI)
# msgstring is a a python string which contains some text and variables giving the current temperature; #weather is the channel
slack.chat.post_message('#weather', msgstring)
You can see its much simpler when someone has written the code to access the API already, and we can plug in our data and away we go!