
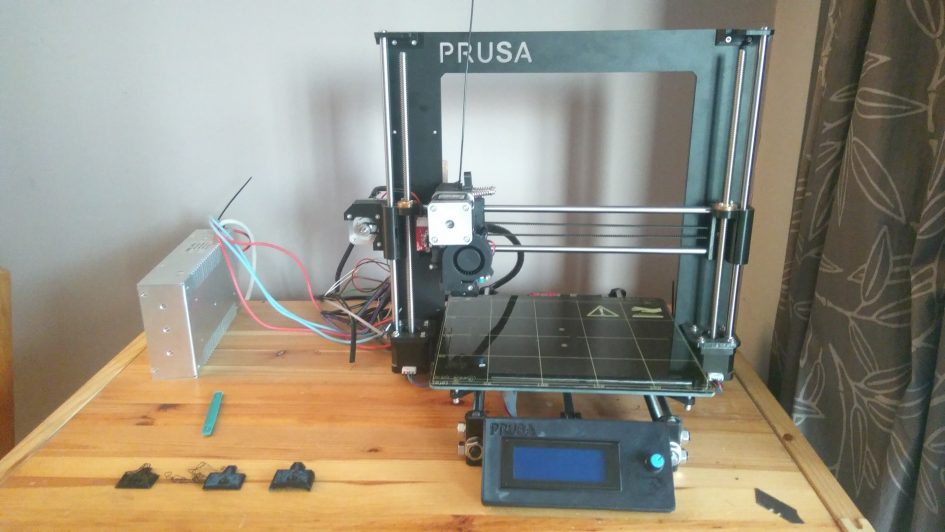
I’ve just finished building my first 3D printer and have made some first steps in tuning it. I won’t go over all the steps as there are many great resources online.
I chose to make a Prusa i3 Mk2 as it’s got a fantastic rating on 3dhubs for the price. I based mine on Tom’s Dolly with e3d v6 hotend – there’s a full list of parts, youtube live stream of the build, and of course you can mostly use the official Prusa instructions. I made some upgrades to start with – Mk42 heatbed, U bolts (which you can buy from me on ebay) for Y-axis linear bearings, Z-axis stepper motors with threaded rods and a 6mm pre-cut aluminium frame.
The first thing you should do is basically watch the whole of Tom’s youtube series. These are brilliant! I’m using Marlin firmware, and you can see my fork on github with all my current settings. Below I’ll outline some of the issues I had with the build and how I solved them.
1. Z-axis and Extruder motors skipping steps?
The first thing I tried was to load up pronterface and try and the motors and set the correct direction. So I know the stepper motor driver boards plugged into RAMPS 1.4 can be adjusted, so I tweaked this for the Z-axis and it almost worked… but then I realised the Z-axis smooth rods were not parallel with the threaded rod. Basically the 3D printed parts I’d ordered from 3dhubs.com didn’t have the holes in quite the right place, so I basically had to open them out and jam in a zip tie to secure it. A bit of a bodge.
The extruder still didn’t want to seem to load any filament at all… until I realised a) The end of the filament was not sharp and was obviously catching and b) I hadn’t actually installed the PTFE tube into the extruder body. Fixed these, tweaked the stepper motor driver foe the extruder, and then it worked no problem.
2. Only powering up under USB power / not at all
This actually manifested itself straight away. When I first connected USB to the computer to uplaod the firmware to the arduino, it would not power up. I took everything off the RAMPS board and plugged them back in one by one, and then realised that one of the stepper motor drivers was in the wrong way round. After that it worked fine but only with USB plugged in – eventually I want to print from SD card. I did some googling and tried to power the arduino from the 12v rail. Nothing. Basically I blew the arduino voltage regulator because of the installing on the of the stepper motor drivers the wrong way round. Not a big deal, just need a new arduino mega.
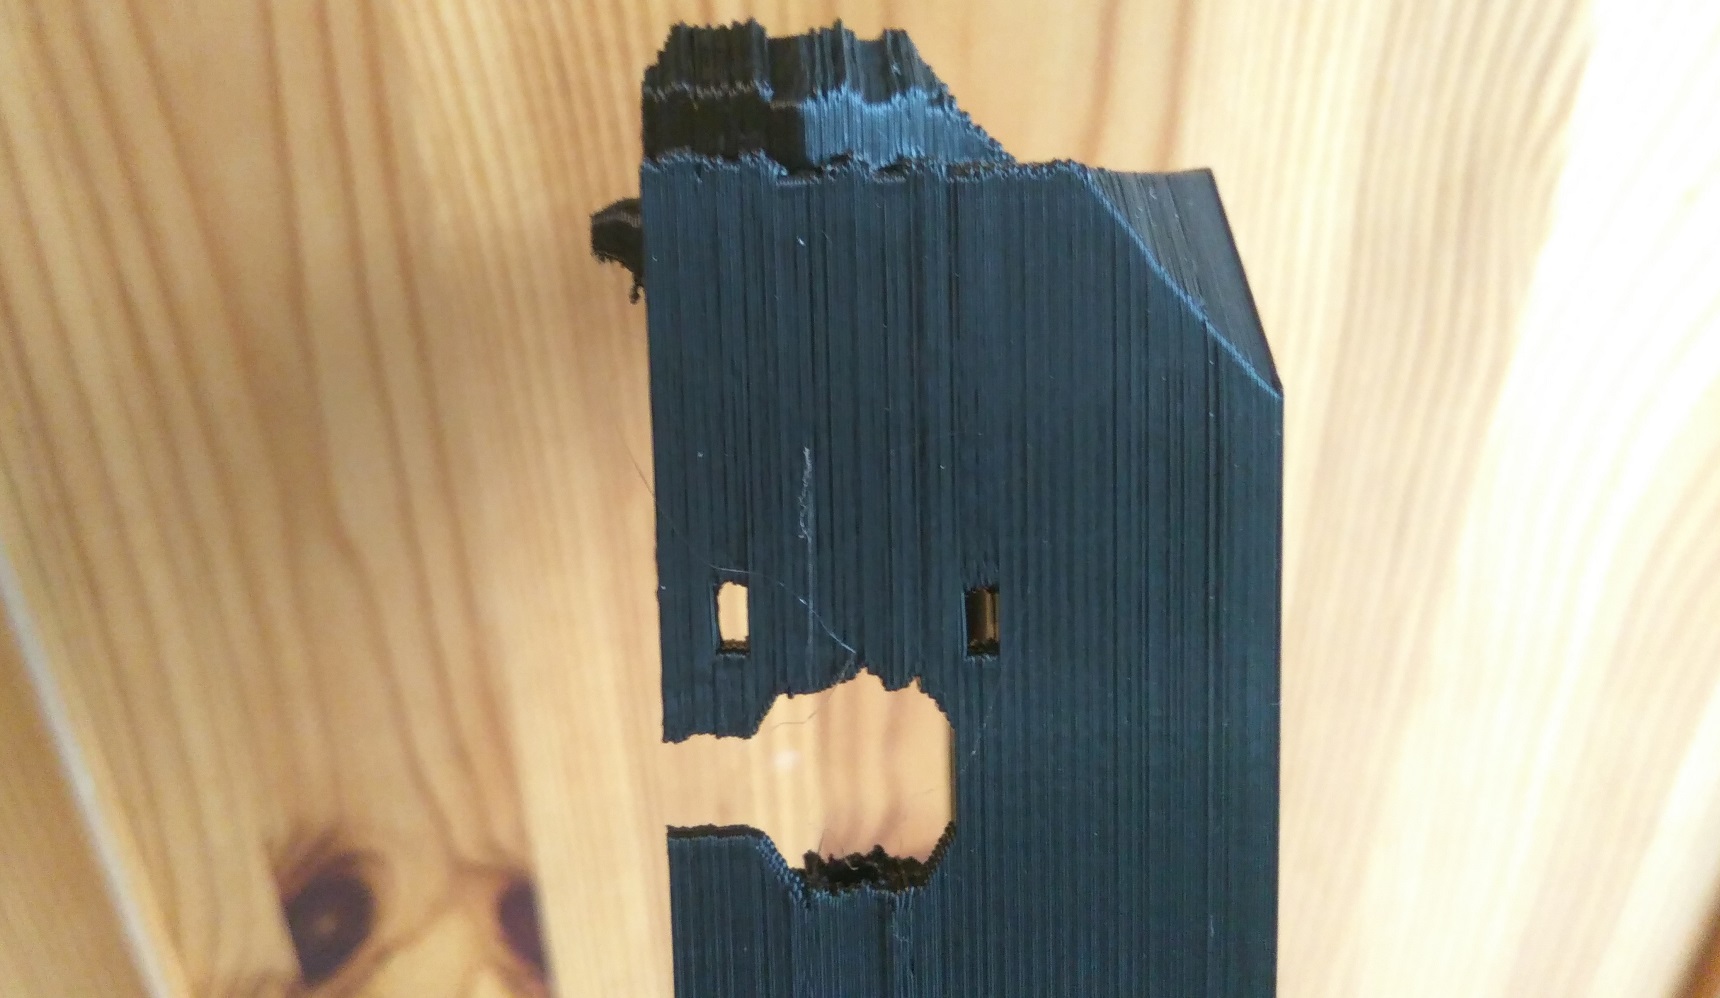
3. Prints a horrible mess!
I decided to self-bootstrap this machine, so I’m printing the non-essential parts myself, RAMPS cover, LCD cover, and heatbed wires cover – my first print. And it looked awful! I was a big discouraged at this stage wondering why the quality was so bad. When I did it a second time round and looked closely as it printed the first layer there was a MASSIVE gap (well, relatively speaking) between the nozzle and bed, and so the filament was just being extruded into thin air and dragged around. Basically I just used trial and error in pronterface to bring the nozzle down onto a piece of paper and see if it would move. Then I set the Z-axis offset in slic3r before sending my model to the printer. In the end the Z-axis starts -1.75mm from where the probe triggers.

4. Stopped due to thermal runaway
The next print first layer looked pretty good but half way through there was a thermal runaway, which was a bit strange as there was no overheating, nor any issues with the thermistors. In my rush to get printing, I’d not watched all the build steps and hadn’t tuned the temperature PID control settings. The autotune feature worked very well – and I printed the heatbed cover perfectly, and 2 brackets to hold the LCD.
5. Extruder skipping steps when many retractions
When printing the LCD cover the extruder started skipping again, I noticed this was particularly when doing lots of retractions on the first layer around the prusa logo. I was a bit at a loss of what to do since I’d already tuned the stepper motor potentiometer previously, and tring it again didn’t work. Another quick google, and it seems a number of other people had similar problems (more good tips here) basically the acceleration for the extruder motor in Marlin needed reducing. I’m hoping to increase this bit by bit to improve the speed of the printer eventually, but trying to focus on getting quality prints out first of all.
6. Print lifting up in one corner causing Z-probe to crash
I thought I’d got everything sorted, so started out doing a much larger print – a cover for the RAMPS and arduino. However I tried, it failed multiple times – not sticking to the bed in one corner, and then the Z-probe crashing into the print. Adjusting the Z-probe didn’t help, but then looking very closely at the first layer going down it was obvious that one corner being printed much higher up, and in the opposite corner the print was squashed right down onto the bed. Thinking back I was suprised – although my bed is quite flat, that meant it clearly was not perfect – but I had been using autobed leveling (G-code G29) before each print – but for whatever reason it was not working. After looking at the settings in Slic3r, I noticed it homed all axis (G28) before each print. A bit more googling and it turns out that was the problem – G28 resets the home point, after I’d leveled the bed! Removing G28 from the slic3r startup G-code and it worked much better – the z axis clearly moving to compensate for the uneven bed as it traversed around!
7. X-axis layer stepping
I’m hoping this is the final issue! Printing the RAMPS / arduino case was ok for the first 20mm of height and then I started getting some pretty ugly steps. This one was easy to solve since it was obviously only in the x-direction. Moving the x-axis a bit through the LCD switches on the motors and when they are still they should be locked in position. In my case I could still move the x-axis because the grub screw securing the gear to the motor was loose. It’s now tightened up and ready for the next print.
For all these prints I used rigid ink’s PLA. I’d heard this was considered the best quality you can get, so I went with that to eliminate one variable whilst tuning the printer, and it worked very well.
The build overall went very well but the setup and tuning did require some thinking and trial and error – there is quite a lot to a 3D printer. A self built one means there are no step by step instructions for your exact printer too, but using the Prusa as a base certainly helps as it is proven. The biggest difference is obviously the Marlin firmware for which the default settings are clearly not suitable for the Prusa i3 mk2. Now it’s set up properly I’m confident of getting good quality prints!
Leave a Reply