

As part of this series on creating and deploying a full stack web app, I’m using the Django web framework. Django has pre-designed parts for you compared to Flask which I’ve used previously. That saves some development time, although it is a bit harder to understand initial as many things are implicit or defined in different ways. One great thing is that it has an admin backend up and running straight away, so you can edit any data on the backend directly without needing to create the views or edit the database manually.
PART 1: Deployment Choices
PART 2: Setting Up Django Cheat Sheet (this post)
PART 3: Deployment using Ansible and Pyenv
PART 4: Alternative deployment with Docker (future post)
This post is more like a cheat sheet / reference for the minimum basic Django project rather than a full explanation. You can find the code on github: https://github.com/andy-pi/django-basic
1. Install Django
`python -m venv env` # or pyenv virtualenv 3.11.5 djagno-basic
`source env/bin/activate` # or pyenv activate djagno-basic
`pip install django python-dotenv`
2. Setup Django
`django-admin startproject projectname .` # create a project
`python manage.py startapp appname` # appname is a subset of the project, you can have more than one!
`python manage.py collectstatic` # collect static files into a folder
3. Basic Configuration Settings to Enter Manually
in settings.py
from dotenv import load_dotenv
import os
load_dotenv()
SECRET_KEY = os.environ['DJANGO_SECRET_KEY']
DEBUG = os.environ.get('DEBUG', False)
INSTALLED_APPS = [..., appname]
TEMPLATES = [ { ..., 'DIRS': [os.path.join(BASE_DIR, 'app/templates')], ...]
Create a .env file, which should contain passwords and information that does not go into source control:
DEBUG=True
DJANGO_SECRET_KEY=secretpassword123
4. Create your first view
in project urls.py:
import appname.urls
from django.urls import include, path
urlpatterns = [
    path('djangobackend/', admin.site.urls), # django backend created for you
    path('', include('app.urls')), # root page looks for routes in app/urls.py
    ]
add appname/urls.py:
from . import views
from django.urls import path
urlpatterns = [
    path('', views.home, name='home'), # setup root to the home view
]
in appname/views.py:
def home(request):
    user = request.user.username # Get the user from the request variable
    return render(request, 'home.html', {'user': user,}) # pass the user variable to the template to render
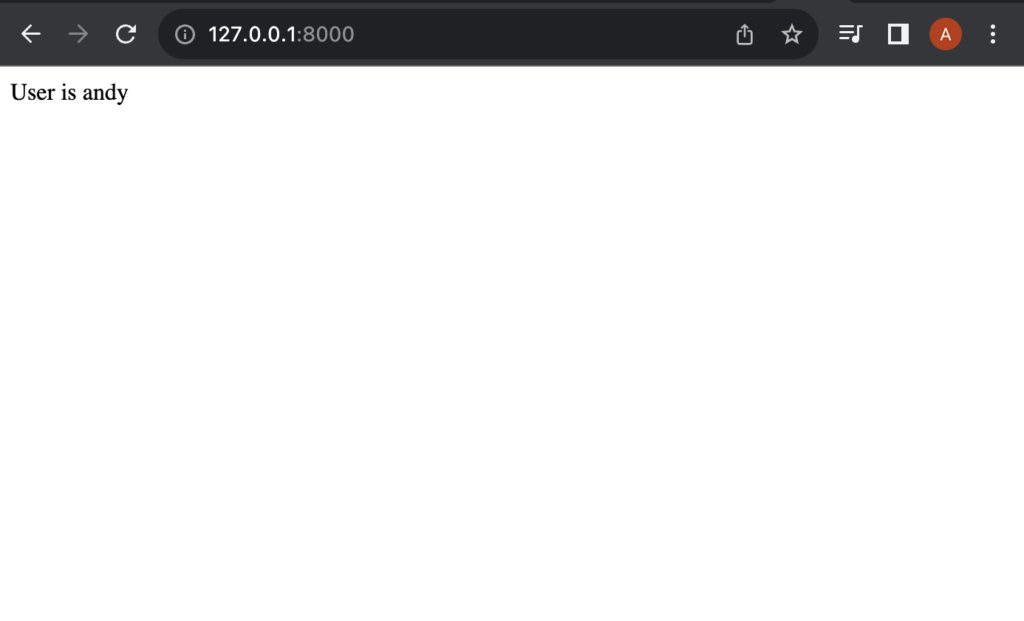
in appname/templates/home.html, this simple view just shows the username of any authenticated user:
<DOCTYPE html>
<html lang="en">
<body>
   User is {{ user }}
</body>
</html>
If you run the server this should be enough to get a basic view working:
5. Database & backend view
To create an object / table in the database we need to create a class of Django model type in app/models.py, we;” just use a simple example and connect it to the user (which is a pre-existing object in Django):
from django.db import models
from django.contrib.auth.models import User

class Order(models.Model):
    user = models.ForeignKey(User, on_delete=models.CASCADE)
    product_id = models.CharField(max_length=1024)
    price = models.IntegerField(default = 0)
6. Folder structure
The folder structure you created should look like this:
└── projectname
├── appname
│ ├── __init__.py
│ ├── admin.py
│ ├── apps.py
│ ├── migrations
│ │ ├── 0001_initial.py
│ │ └── __init__.py
│ ├── models.py
│ ├── templates
│ │ └── home.html
│ ├── tests.py
│ ├── urls.py
│ └── views.py
├── manage.py
└── projectname
├── __init__.py
├── asgi.py
├── settings.py
├── urls.py
└── wsgi.py
7. Database Migrations superuser creation
To create the DB with the model we specified (and update it when changed we can:
`cd projectname`
`python manage.py makemigrations` # takes info from the model to create DB migrations
`python manage.py migrate` # apply the migration changes to the DB
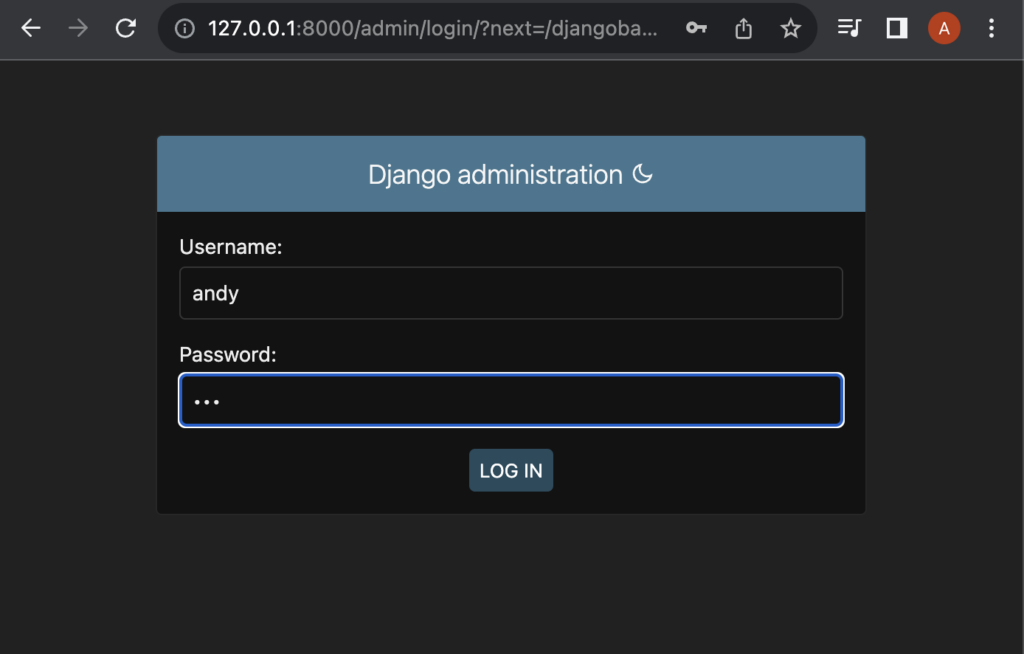
Django has a pre-built backend that we can access. To do that we first need to create a ‘superuser’ from the command line. It will prompt you for a username / email / password:
`python manage.py createsuperuser`
8. Test run!
To run the server : `python manage.py runserver` # runs the server locally at – https://127.0.0.1:8000
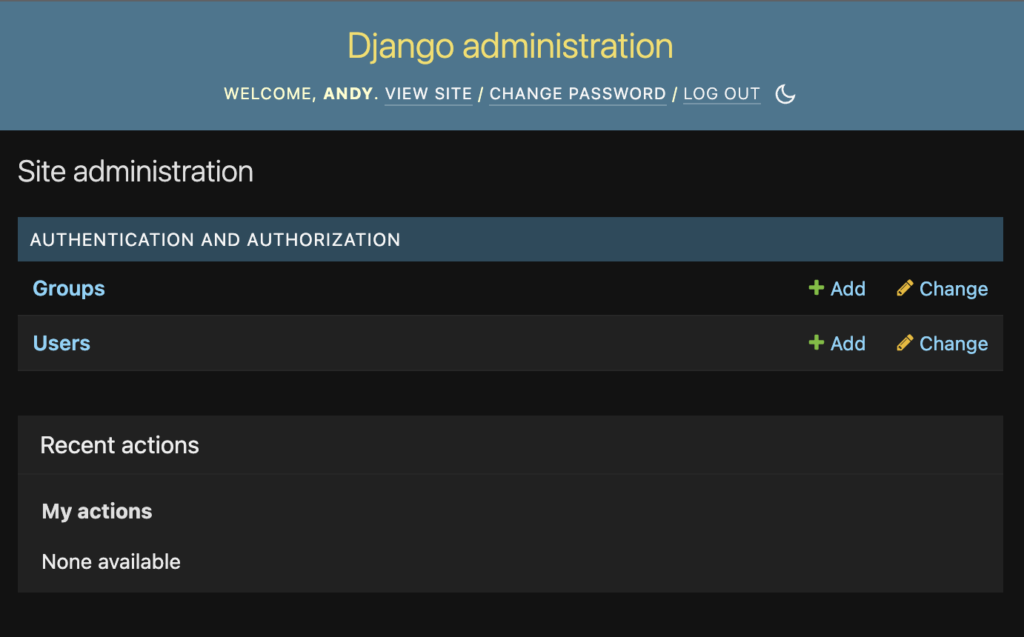
If you login at https://127.0.0.1:8000djangobackend/ (or whatever you named this URL in settings.py) with the superuser name and password you created in step 7, you can then explore the django backend
The main page will display the username of the logged in user.