
PLEASE NOTE: RASPBMC is now not supported, this post is included for posterity (November 2015). Some people have reported success with OSMC and OpenELEC… see here: https://www.raspberrypi.org/forums/viewtopic.php?f=35&t=108385
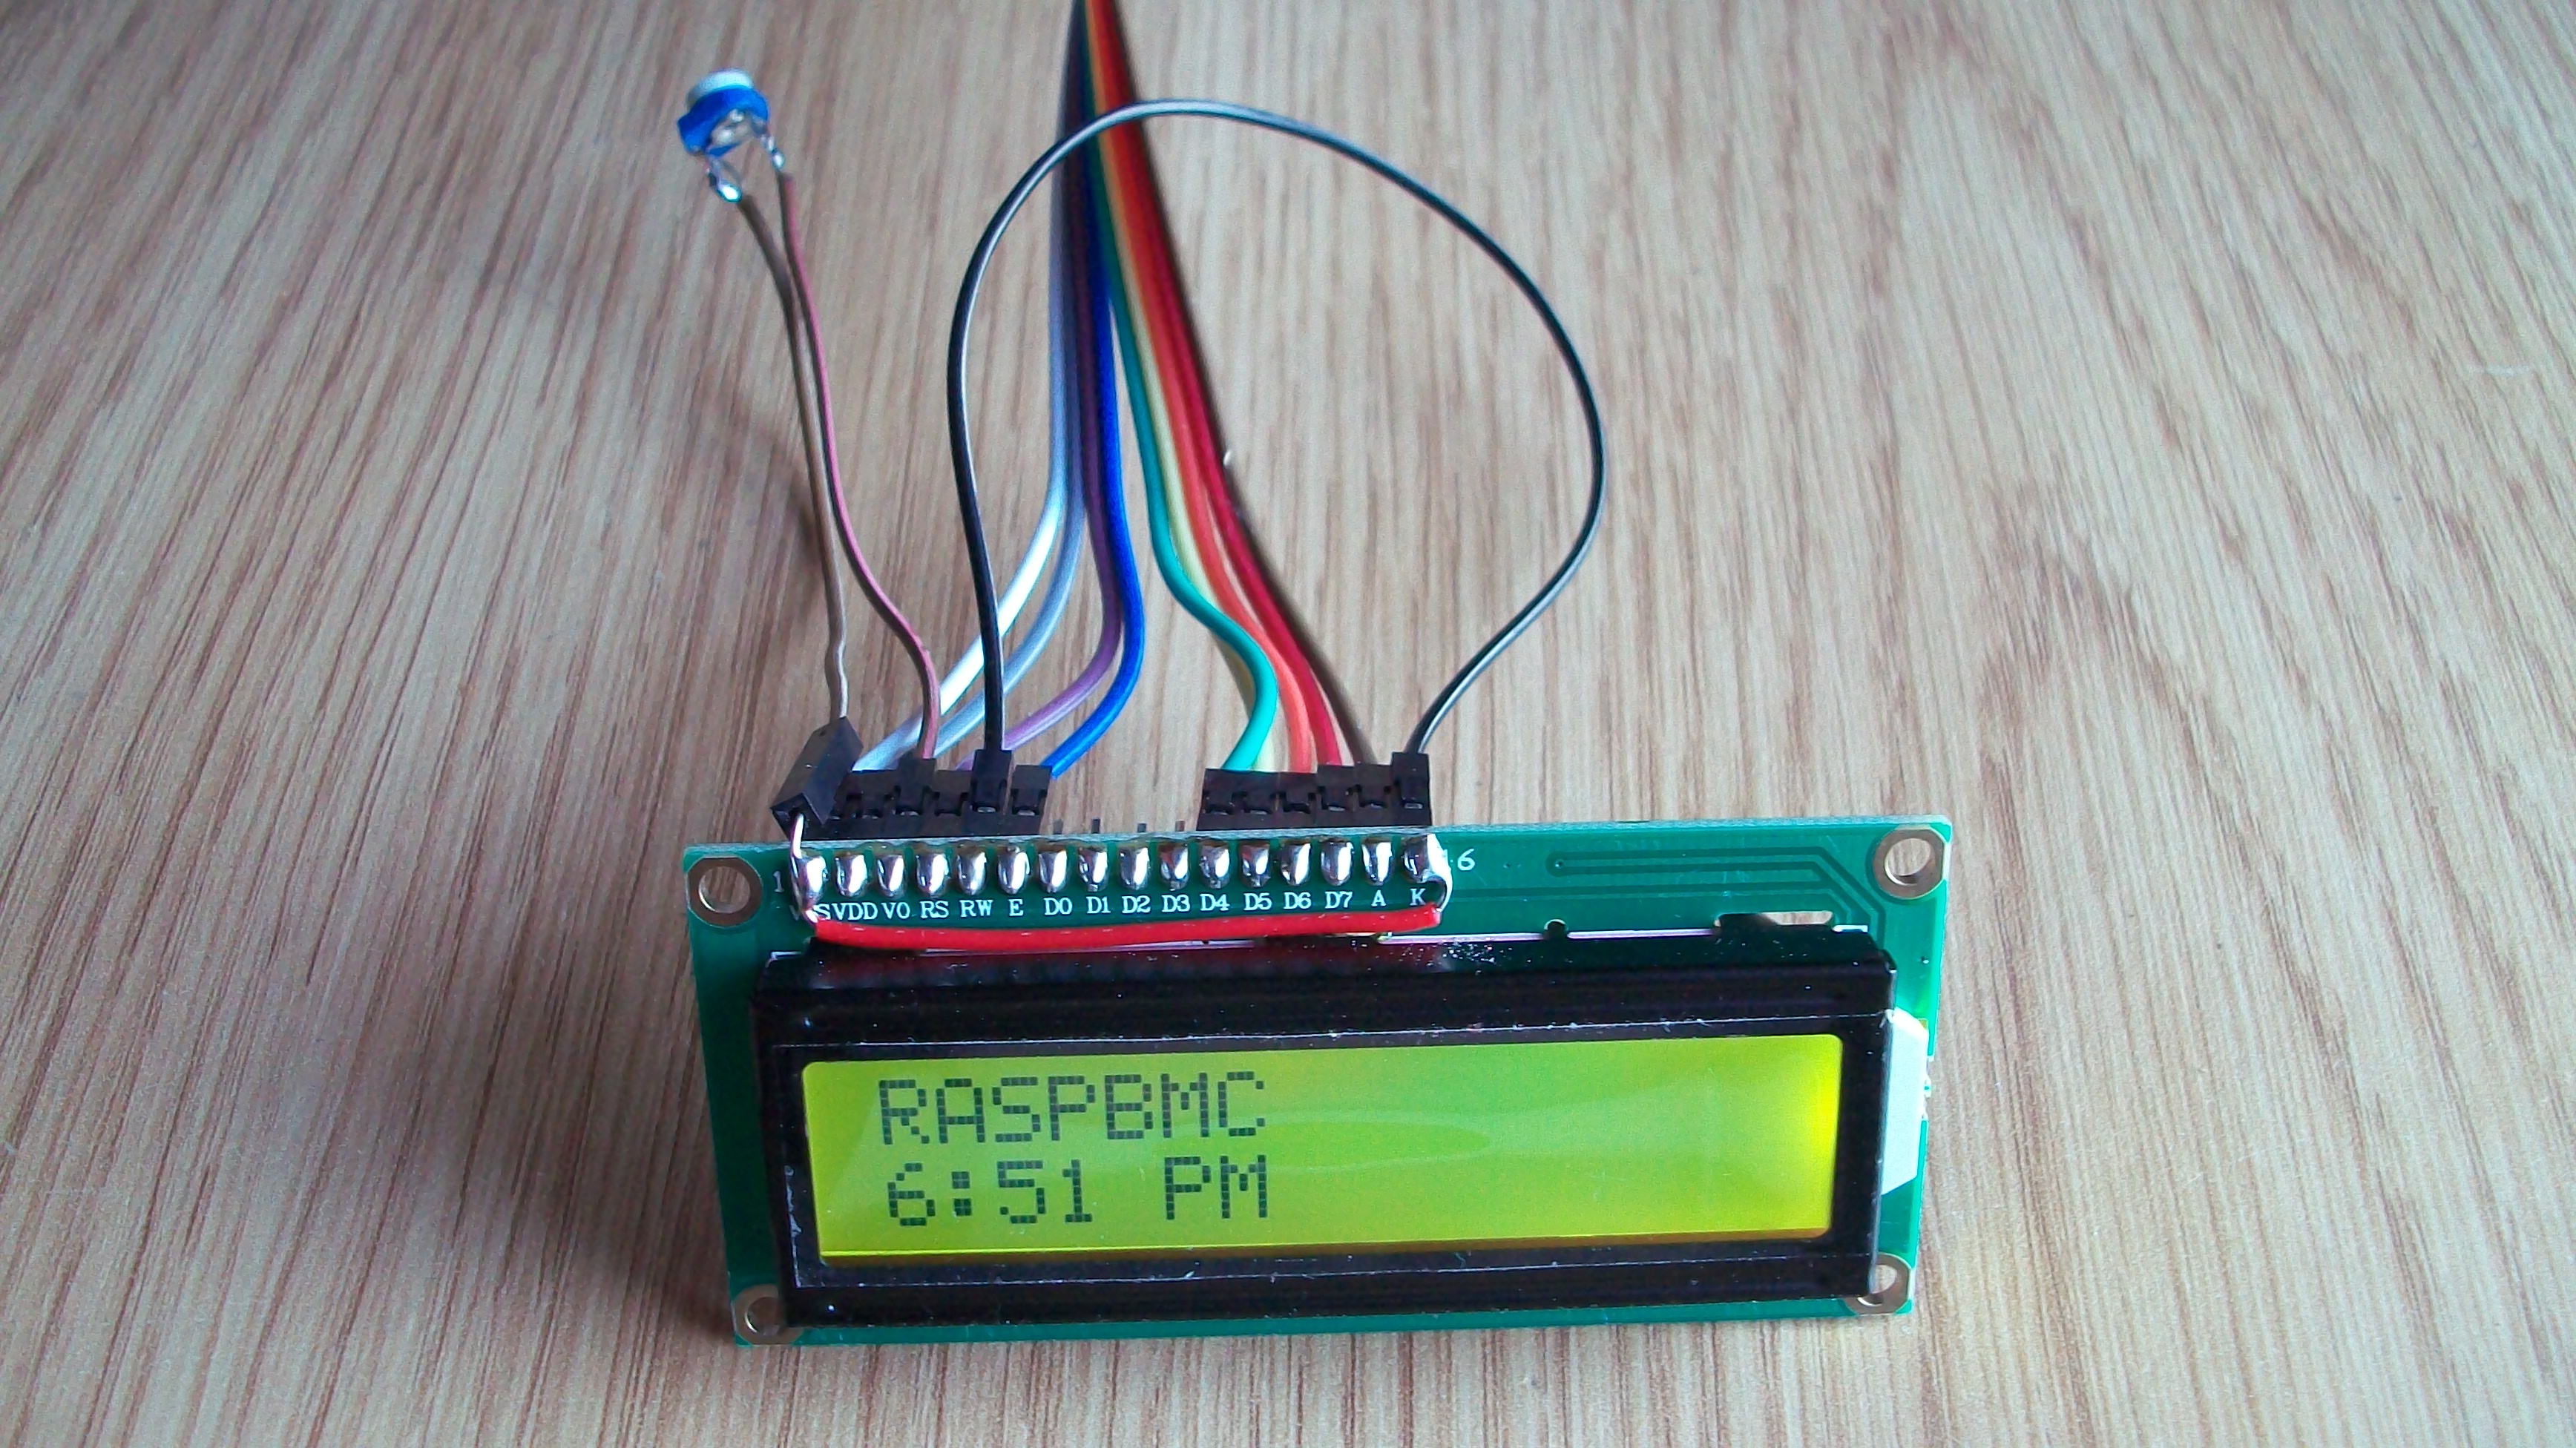
This is an inexpensive way of providing visual output for a Raspberry Pi media centre. It lists the track title and artist when playing mp3’s for example, and could be used when the media centre is controlled by an android remote but no RCA or HDMI screen is connected.
AndyPi sells a complete kit of parts, including the LCD, wires & contrast adjustment potentiometer. The installation instructions below are given step-by-step, and requires no additional knowledge. Advanced users please note this replaces some XBMC configuration files, see part (5) for more information.
Start off by following the, construction &wiring guide. Once you have finished this, follow the steps below to setup your RASPMBC with the LCD:
1. Install RASPBMC to your Pi’s SD card. Look here for instructions http://www.raspbmc.com/download/ for installation from Windows / Mac / Linux.
2. Start up your RASPBMC, Go into the “System” menu on the far right, go into “System” and in “Video output” click the check box to “Enable LCD/VFD”. UPDATE JUNE 2014: – Note from XBMC v13 onwards, this checkbox has been removed. To enable LCD support in XBMC, you need to install an add-on through the XBMC repository instead (Note if you do this with older versions which still have the checkbox, you MUST disable it – only use the checkbox OR the add-on, not both).Get it from System > Add-ons > XBMC add-ons > Services > XBMC Lcdproc.
3. Click the power button, and from the menu, Click “Exit”. Keep tapping “ESC” and you should end up at the command line which will ask you for your login: “pi” and password: “raspberry”. (the first time you do this you will be asked to select your location and time zone). Then, download the installer file – simply type:
sudo wget http://andypi.co.uk/downloads/lcd-install
and then install by typing:
sudo bash lcd-install
[NOTE: JUNE 7th 2013 – If you get an error -“line 33: /ect/pi/init.d/LCDd: no such file found”, you please do sudo apt-get install lcdproc –fix-missing and then run the install script again. Let me know if you get this error and I’ll add it into the installer file]
[NOTE: DEC 29th 2013 – this installer replaces your lcd.xml and advancedsettings.xml files, the previous versions are saved as *.old files in the same directory]
This will install the necessary files. Finally restart into RASPBMC with:
sudo shutdown -r now
5. Tweaking for advanced users. Take a look at the lcd-install script, which references a number of XBMC configuration files. You can edit these to customise what is displayed on the LCD. See the following links for background information:
http://wiki.xbmc.org/index.php?title=Userdata/LCD.xml
http://www.raspberrypi.org/phpBB3/viewtopic.php?f=35&t=15967
http://www.tech-fruits.com/hardware/setting-up-lcd-via-gpio-on-raspi-part-2/